Getting into Instant Photography
December 3, 2012 § 6 Comments
So you’re interested in learning more about this whole instant photography thing? I know the feeling. I can go on and on about why I love it, but I’d rather take this time to tell about some of the options that are available.
As you may or may not know, there are two companies manufacturing analog instant film that market their products world-wide; FujiFilm in Japan and The Impossible Project in the Netherlands.
Fuji makes a couple of types of instant: integral film for their Instax camera line (the Instax mini & Instax wide) and peel-apart film for Polaroid pack film cameras. The Instax system is a great entry-level start into the world of instant. If you’re looking to capture candid images at a club, a party, hanging out with friends, this is a ideal choice. It fires a flash every time and takes good images. Food for thought: If you really get into instant, you might find that that this camera system is restricted when compared against others in the field. However, it’s all in how you use it. I’ve seen some incredible work produced from professionals who shoot with Instax cameras.
Fuji’s peel-apart film, FP-100C (color) & FP-3000B (B&W), is used in 100 series Polaroids, cameras which use a NPC Polaroid back or ones that have been converted to use pack film (Polaroid 110A & Polaroid 110B’s come to mind). Pack-film Polaroid cameras are a lot of fun to use. You can find them for $10-50 (on average) for the cameras with automatic exposure and for the models with manual exposure settings you’ll spend $300+ (Polaroid 180, 185, 190, 195, 600SE, Fuji FP-1). When looking for one, inspect to make sure there are no light leaks in the bellows. Use a flashlight to shine around in the camera when the back is open and look on the outside of the bellows for leaks. Check to make sure the rollers move freely and are fairly clean (wipe them down with a damp paper towel to remove any gunk you might find). Also, the required battery needed to run the meter is a little hard to find. Most people I’ve found covert the camera to use either AA or AAA batteries. It’s really simple. This a great tutorial on how to do it. Just be mindful of whether you need to convert to 3V or 4.5V which is easily determined by looking at the underside of the battery compartment door. But don’t let this technical mumbo-jumbo fool you. Once you get your camera in operating condition, the fun you’ll have with it is endless.
Fuji’s peel-apart film has a very clean look to it. The colors are pleasantly saturated, and the detail & clarity is very good.
Each exposure, when peeled, has a positive print and a negative. Further adding to the enjoyment of it, when shooting color film, the FP-100C negative can be salvaged to scan by bleaching the negative.
As I mentioned earlier, you can use any camera that has a NPC Polaroid back with peel-apart as well. I use a RB67 + a NPC Polaroid back and get great results. Note the black unexposed portion of the frame when shooting with a RB67.
You might be thinking .. What about all of those other Polaroids cameras? Do they still make film for those?? Luckily, since The Impossible Project stepped into the game, they do! They’ve re-invented integral film for literally hundreds of thousands of Polaroids that are still out there. Any of the Polaroid 600 series, Spectra/Image or SX-70 cameras can still be used. Beyond that, they’ve brought 8×10 instant film back into the marketplace.
A good Polaroid to start off with that shoots integral film would be any of the Polaroid One Steps/600 series cameras. You know the ones; boxy, most flipped open and have a flash. Nearly every office in the 80’s & 90’s had one for employee photos. They are fairly easy to use and shoot color (PX-680) or B&W (PX-600) film. There are a large variety of 600 series cameras available. If you’re purchasing on Ebay or Craiglist, you’ll find One Steps from $10-$100+ on average depending on the model and if it’s a collectible. The camera has two focusing distances (2-4ft and 4ft – infinity) and takes good images.
Polaroid Spectra cameras are another great option and are pretty durable cameras too. If you’re going to be roughing it while out and about, this particular camera is perfect for the job. I’ve been using these for a while and they produce really nice results. Most of the Spectra cameras I’ve picked up have been $10-20. They use color (PZ680) or B&W (PZ600) Impossible Project film, use inaudible sound waves to aid in auto-focusing and are pretty user friendly. I took one to a Texas Rangers game at the Ballpark in Arlington this past summer. If you’re interested in reading a little more about the camera & how it works, you can find that here.
This brings me to Polaroid SX-70’s. These are some of my favorite Polaroid cameras to use. They are really fun to operate. Unlike all of the other cameras as fore mentioned, because this particular camera is a SLR, what you see in the viewfinder is what you get. The Sonar SX-70, like the Spectra, also uses inaudible sound waves to measure the subject’s distance from the camera. If you get lucky, you can find these for around $20. But most of the various SX-70 models go anywhere from $40-100 depending on its condition and whether it’s been serviced/refurbished etc. Using SX-70’s with Impossible film can be a little challenging, however once you get over the learning curve and get a handle on how to best utilize their films with this camera, it produces some awesome results.
Last, but certainly not least, is the Polaroid SLR680/SLR690. These are top of the line Polaroids that shoot 600 speed film (PX-680 or PX-600). I’ve seen these online anywhere from $75-$200+, again, depending on the typical used-camera variables. They are modeled after the SX-70. Their rollers spread the film a little more even, it has more focusing zones than the Sonar SX-70 and they come equipped with a flash that can be toggled on/off.
When looking for a used camera, of course look for signs of damage, but even more so, check the lens to make sure it’s clean. Inspect the rollers; they should move somewhat freely. If you bring an empty film pack with you, you can check to make sure the camera’s ejection mechanism is working (this is not needed on Polaroids which use peel-apart film). Simply slide a darkslide into the empty pack, put it into the camera and if everything functioning properly, when you close the film door, the darkslide should eject out. Some cameras might sound slow or sluggish if they haven’t been used in a while. Actuate the shutter a handful of times. It will help move the gears and get the juices flowing. If you’re in the D/FW area, I have a few empty packs laying around. I’ll mail you one if you’re in need.
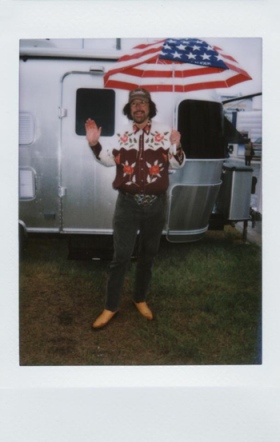
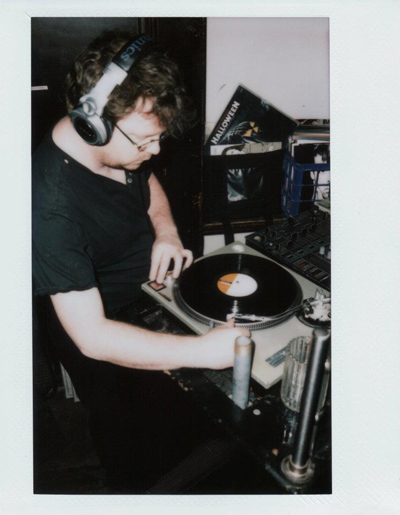
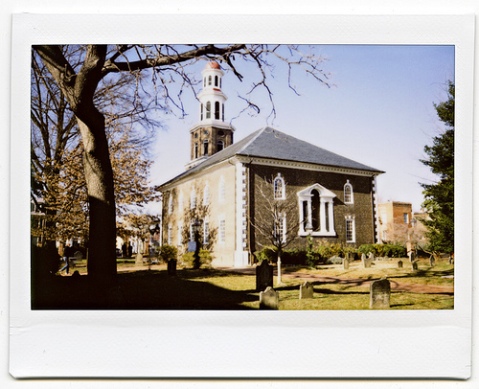
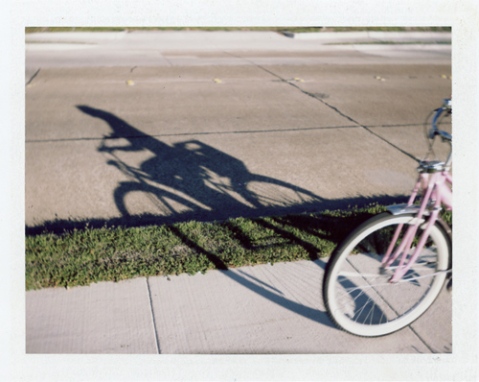
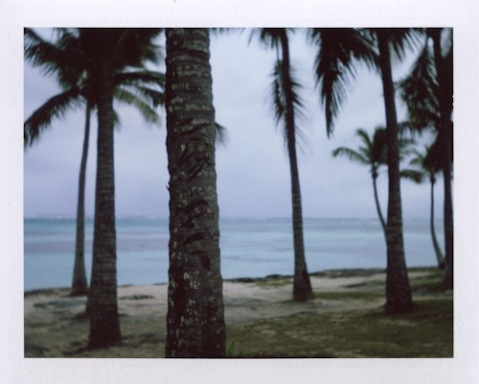
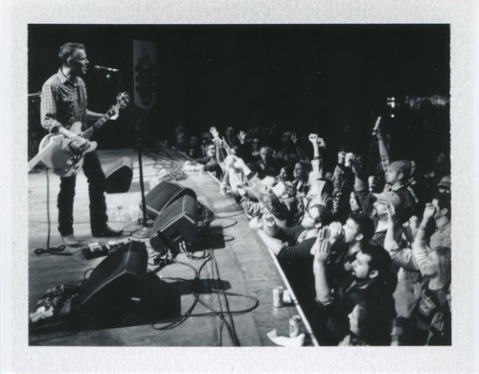
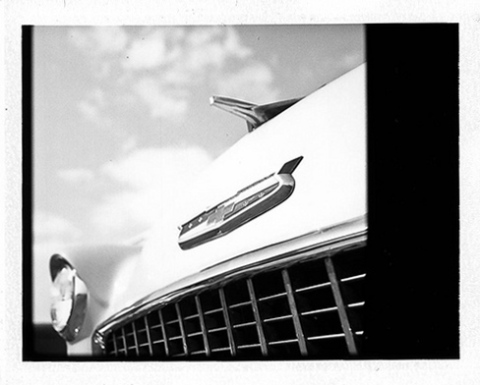
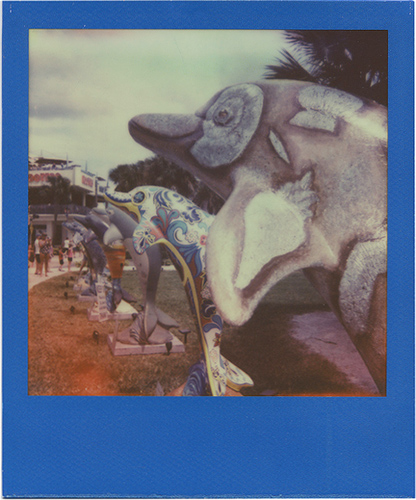
A big thanks to Daniel Rodrigue, Mark Goode, Patrick Clarke, Annie Donovan, Laidric Stevenson, John Morrison & Synthia Goode for letting me use their images to fill out this blog post. It is appreciated!
If you’d like to know more, send a message my way. I’d be happy to help you in any way that I can. Email me at info@instantfilmsociety.com
-Justin
A Small Texas Wedding + a Pho-Tak Traveler 120 + Impossible Project & More
May 26, 2012 § 13 Comments
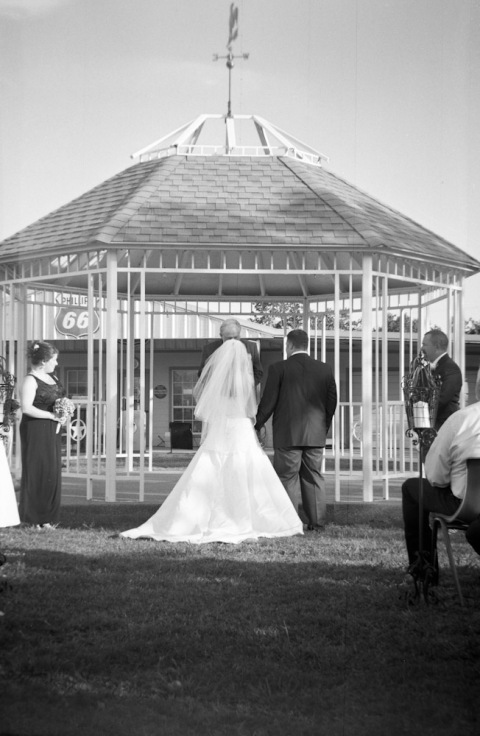
A couple months ago, a friend of ours booked my wife and I to photograph her wedding in Terrell, Texas. She mentioned that it was going to be a small ceremony on May 26th, at a friend of a friend’s house, who happened to also own a few classic cars. I’ve known Amy for a while and I was happy to hear that she wanted to use us for the wedding. When I met up with her to talk things over, she mentioned that she loved our photography and was looking to have a classic, vintage look for her wedding photos. She also told me that she had been holding onto her great-grandmother’s camera and was trying to find the right home for it. It seemed fate was potentially going to have a hand in the outcome of these images …
Within a week or so, she contacted me and I swung up the road to pick up the camera. I had no idea what to expect, but was intrigued when she handed me a Pho-Tak Traveler 120 box camera. When I got back into the car, I examined the camera and knew that the “120” was probably an indication of what film it used. I opened it up and found a metal Kodak spool which was indeed for that size film. 120 is still made … how cool would it be to shoot some of her wedding photographs on her great-grandmothers’s camera? VERY COOL. I called her up and she was thrilled with the idea.
I took it over to my friend’s camera shop to clean it up and to determine what the shutter speed & aperture might be. This is a point-and-shoot camera in the most literal sense. It has one shutter speed & aperture, using a singlet lens, that produces a 6x9cm negative. We thought that it was probably sitting at about a 20th-30th of a second and possibly f/5.6. I tried a roll of Ilford 3200 indoors and it was extremely underexposed (3-4 stops). It’s not f/5.6. I talked it over with another friend and he mentioned, that since this camera was made in the 1950’s, it was probably meant to use ASA 100 speed film or slower. I had a ‘duh moment’. Having a shutter speed of only about 1/30th, using the sunny-16 rule, I figured it was probably sitting at about f/32. I tested out a roll of Fuji Acros 100 developed in Rodinal and had decent results. From the test roll I noticed a couple of things; it focuses about 5-10 feet away & you really have to make sure the camera is stable when exposing. The best way to trip this shutter is to slowly put consistent pressure on the shutter release until it clicks. The rollers in the camera did scratch the crap out of the negative but what are you gonna do? It’s an old box camera. The aged look it produced was perfect!
I packed a variety of film cameras to use on the day of the wedding; a Leica M2 (15mm + 50mm), a Polaroid SX-70, a Polaroid 100 Land Camera & the Pho-Tak Traveler 120. I figured with Amy’s request for vintage, classic images & the automobiles, bringing cameras relevant to the era would be a good idea. For film, I packed some Tri-X, Ektar 100, Impossible Project PX-70 COOL & some Fuji FP-100C. My wife was armed with our trusty Nikon D700, F100 and a Nikon FE. Our bases were covered …
I like having a plethora of cameras to choose from at our photo shoots. The beauty of having a variety of film cameras at your disposal, is that each camera is different and produces unique results. Forget trying to edit a digital image to match the results you get with film. 1) It can’t be replicated 2 ) it’s boooooooring and SO overdone. If you’re trying to emulate film it’s just a whole lot easier to shoot film. It takes less time in the long run to get really cool, unique, vintage images.
Anyhow, off the bat, the place looked to be really cool. The owner had pulled out a few of his classic cars and they were parked on the lot by the garage. We scouted out some locations around the area that would be good to shoot at during the wedding. I met up with the groom, Adam, and I pulled him aside to snap a pic of him on some of the Impossible Project PX-70 COOL I brought with me.
After a little bit I went over to where Amy was getting ready. I brought Hannah, the flower girl, outside for a snapshot on the front porch with the SX-70 and then one with the Pho-Tak box camera.
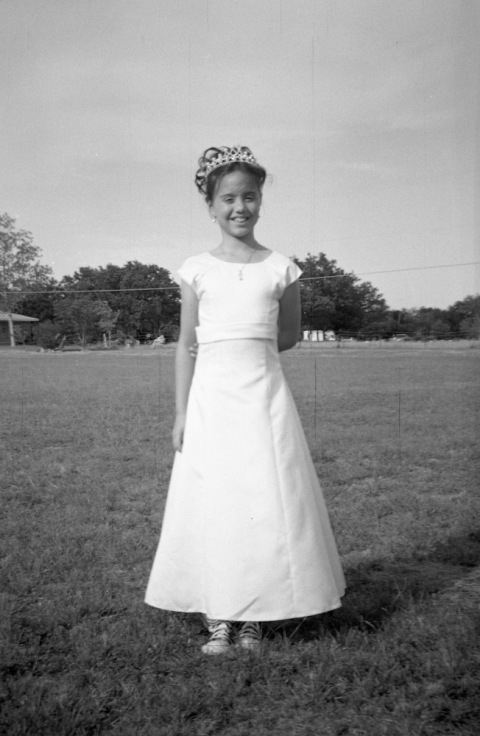
Hannah Rae – Pho-Tak Traveler 120 – Kodak Tri-X 400@200 – Ilfotec DD-X **side note** I had tested the Pho-Tak box camera in the middle of the day with 100 speed film. I decided to load it up with Kodak Tri-X 400 and would pull the development to 200ASA. I wanted the option of either developing at 200 or 400 if needed.
At this point, Amy was almost ready and we grabbed a few photos before the ceremony …
The ceremony was short & sweet! I did have enough time to knock out some pics on the M2, the FE, the Pho-Tak, the SX-70 and a few on the Polaroid 100.
All in all, I’m pleased with the images from the Pho-Tak Traveler box camera. Granted it uses a singlet lens and it’s not uber-sharp but who cares? It has that insta-vintage look without all the editing fuss. Also, it goes without saying, BUT the Impossible PX-70 COOL yielded some really neat analog results as well. I’ll definitely keep this stuff stocked for my future gigs and personal shoots. Their film deserves to be shot .. a lot.
-Justin
Interested in booking us for your wedding? Contact us at info@goodephotography.biz
Drying Fuji FP-100C prints
May 13, 2012 § 20 Comments
Many of you know that I really enjoy shooting instant film. I first got hooked on Fuji’s FP-100C a few years ago when I picked up a Polaroid back for the Mamiya RB67. I was in heaven! I had never shot the stuff before and I was really enthralled with the beauty of the images. Since then, I’ve really gotten into Impossible Project‘s films which are another beast in itself (great film).
The cool thing about Fuji’s instant film is that it is peel-apart film and it works on all 100 series Polaroid cameras & film backs. The not-so-cool thing about this type of film in general, is that when you peel it apart, you remove the print from the negative & the developing solution. That in turn leaves you with a somewhat vulnerable print that has to dry first before it can be touched & stored. It’s not really a problem if you’re only shooting a few and can hand hold the print a few minutes until it’s dry. It does turn into a bit of an issue however when you’re shooting a pack or more of prints fairly quickly and need to store them to dry. I run into this issue …
A while back, I started to brainstorm on how I could keep the exposed prints & negatives in a safe place when I was out and about shooting. One day, I was walking around an arts & crafts store and I stumbled upon a paper mache box that looked to be about the size of FP-100C’s prints. Voila! It was perfect!
– CLICK HERE TO PURCHASE THIS BOX –
Once it was complete I finally had a safe place to dry and store the prints/negatives. I just put it in the camera bag when I’m out and about.
Thanks for reading!
-Justin
Bleaching FP-100C
May 5, 2012 § 8 Comments
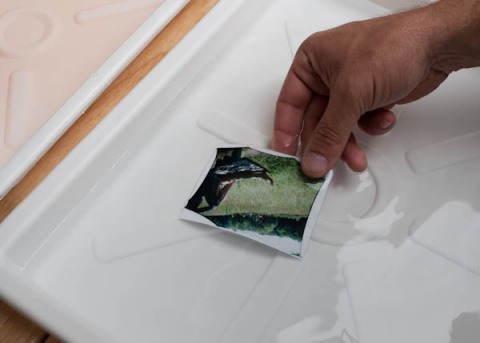
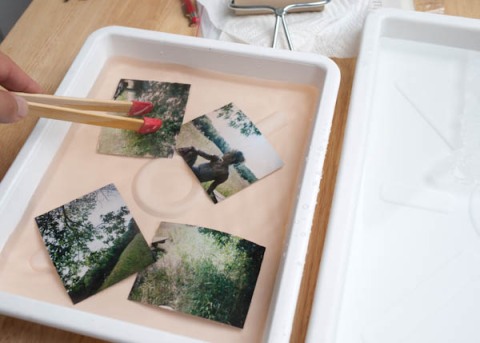
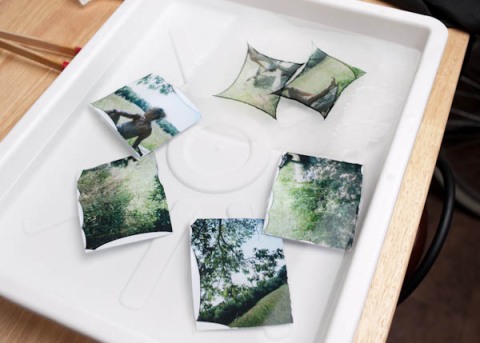
For those of you unaware, FujiFilm’s FP-100C is peel apart film used in Polaroid cameras and other cameras equipped with a Polaroid back. I’ve been shooting the stuff for a few years on a Mamiya RB-67 and Polaroid pack film cameras (seen above). Other than Impossible Project films, Fuji’s peel-apart films are the only other dominate option for instant analogue photography.
I just recently found out how to salvage the negatives from FP-100C. For years I’ve just peeled off the exposed prints and disposed of the “other part”. I have been missing out! Not any more however 😉
My wife and I took a trip to our friend’s ranch a few weeks ago and she shot a lot of FP-100C while we were there. We saved all of her negatives and stored them in a box once they had all dried. Side note: I’ve found if you stash the negative away in a dark dry place, you can still salvage it. If it’s left out in the open sun to dry, exposure will run its course and the negative will be overexposed/washed out. Anyhow, she took an image of me plinking away with a bb gun on their back porch. It’s a little dark on the print but I’ll be able to pull out some shadow detail once the negative has been scanned (that’s one of the cool things about this).
To salvage the negative it’s quite simple actually. You’ll need:
– 8×10-ish piece of glass
– small paint brush
– container to hold bleach
– rubber gloves
– clips to dry the negative
All you have to do is …

Turn water off and immediately place the negative face down (black side up). Press down on it so it seals itself to the glass.

Without getting bleach underneath the negative, brush off the black backing of the negative. Frequently dip the brush back into the container of bleach.

Run cold water over the negative to wash away backing. Be careful not to get water underneath the negative at this time.
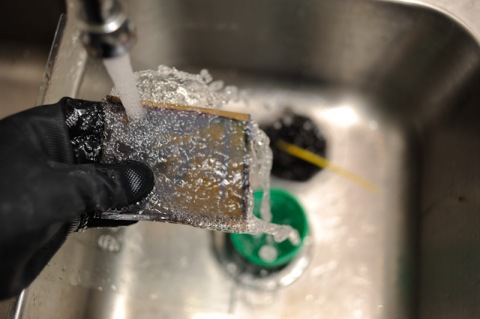
Wash the developer goop off of the negative. Be careful to not apply a lot of pressure otherwise you might rub off part of the emulsion.

Scanned negative from FP-100C – white blotches are from where the black backing was not bleached off.
Here are a few other examples:

Bleached Fuji FP-100C Negative Scan – Green discoloration is from bleach leaking onto the front during the wash. The left corner area is an undeveloped patch.

Bleached Fuji FP-100C Negative Scan – Yellow discoloration is from bleach leaking onto the front during the wash
Thanks for taking the time!
-Justin
Got an old pack film camera sitting around? You can buy FP-100C here. Aaaaand just because I love these peeps I gotta mention them again … Impossible Project is selling some of the last sepia toned polaroid peel apart film available. Buy it here.


